Remember eons two weeks ago when I revealed our lovely headboard? And then I asked you to vote for whether or not I should tuft it? And then I left you hanging for what seemed like forever? Well, the wait is over. Miss Headboard is back, and she’s got a whole new attitude.
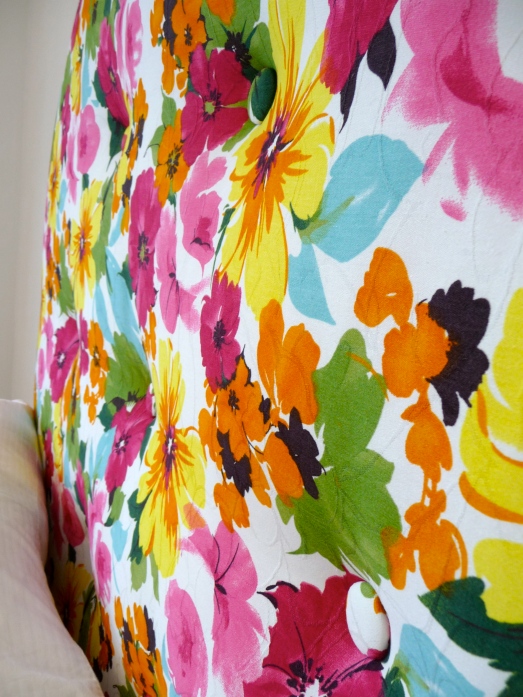
What’s that? You don’t see the new ‘tude? That’s probably because, as it turns out, Miss Headboard is a little camera-shy. You see, while the tufting looks great in real life, it’s really hard to see in photos. Try not to hold it against her.
Let’s talk about how the tufting came to be. Enter these guys:
I actually had 3 boxes of refills and 1 box that included the button covering kit (those little blue and white circles at the bottom of the picture). The instructions on the box explained how to cover the buttons, which was a really simple process. It took about 15 minutes to cover 10 buttons with the leftover fabric from the headboard.
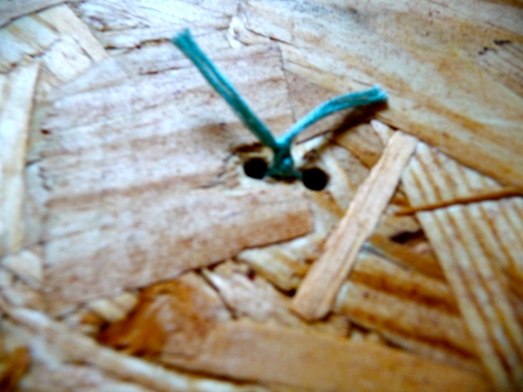
Do you remember how we drilled 20 little holes in the sheathing that makes up the back of the headboard? This is where those come in to play. I threaded a 2″ needle with embroidery thread and stuck it straight down into one of those holes in the back.
I used that little piece of tape to make sure I didn’t pull the thread all the way through. It’s definitely not necessary, but it doesn’t hurt either. It’s sort of like the safety on a gun…wait, no, that’s a bad example. Maybe it’s more like using non-stick spray on a non-stick pan. Anyone else do that?
Once the needle poked through on the other side, I pulled it out, added a button, and sent it straight back through to the other hole. Sometimes I had to dig around a bit for that other hole, but overall this method worked really well.
Then I pulled the thread tight from the back (pressing on the front of the button helps, too), and secured it with a few knots.
Adjusting the tension (or how deep the buttons sat in the headboard) – and keeping it the same for all of the buttons – was the trickiest part of this project. If you have a friend to help with this, one of you can push on the button while the other ties the knots. With my friend (husband) being occupied (watching television), I came up with a different solution. I leaned the headboard forward (upholstered side down) until the button was resting on my kneecap (while I was squatting) and then tied the knots. With the help of gravity and the weight of the headboard, all my buttons ended up at about the same depth.
And that’s all it takes to tuft.
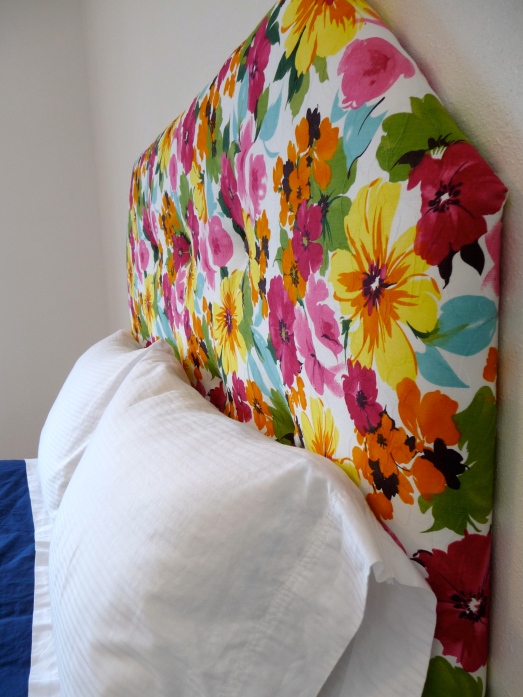
Admittedly, the effect of the tufting is pretty subtle compared to the impact Miss Headboard made right away with her bold colors and pattern, but we’re really glad we went through with it. She looks so…finished, now. And check out those curves:
Did you see them that time? Try this one:
Anything? Maybe I need to have a talk with Miss Headboard about camera etiquette.
Total money spent: $8.82
Total time spent: 1 hour


This is one gorgeous headboard! Thank you so much for sharing. I love your fabric – it is beautiful!.
Thanks so much! We love it, too. 🙂
What a fun and spunky headboard! Even though the tufting is kind of hard to see, I think it adds just the perfect touch to finish the headboard off. Great work, and great fabric! Jen @ http://www.icantstopcrafting.blogspot.com
Thanks, Jen – we think the same thing! Glad you stopped by!
This is way beyond gorgeous!